PiBoy Pro - RETROGAME Museum
Heute stelle ich Euch mein Projekt vor: den Umbau eines klassischen Gameboys DMG-01 zu einem ultimativen mobilem Retro-Game-Museum mithilfe der Raspberry Pi 4. Die Idee bekommst du von mir, aber bauen musst du selbst.
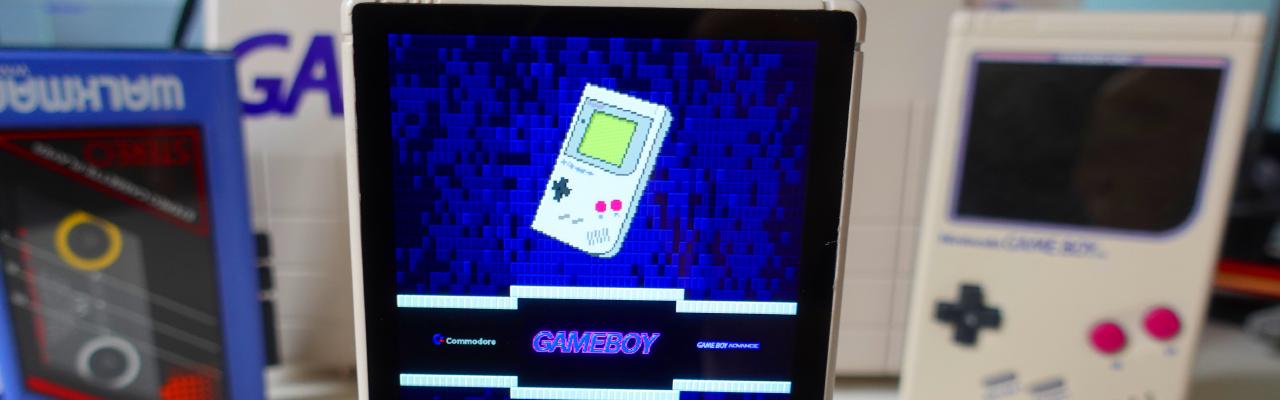
| Unterwegs | zu Hause |
|---|---|
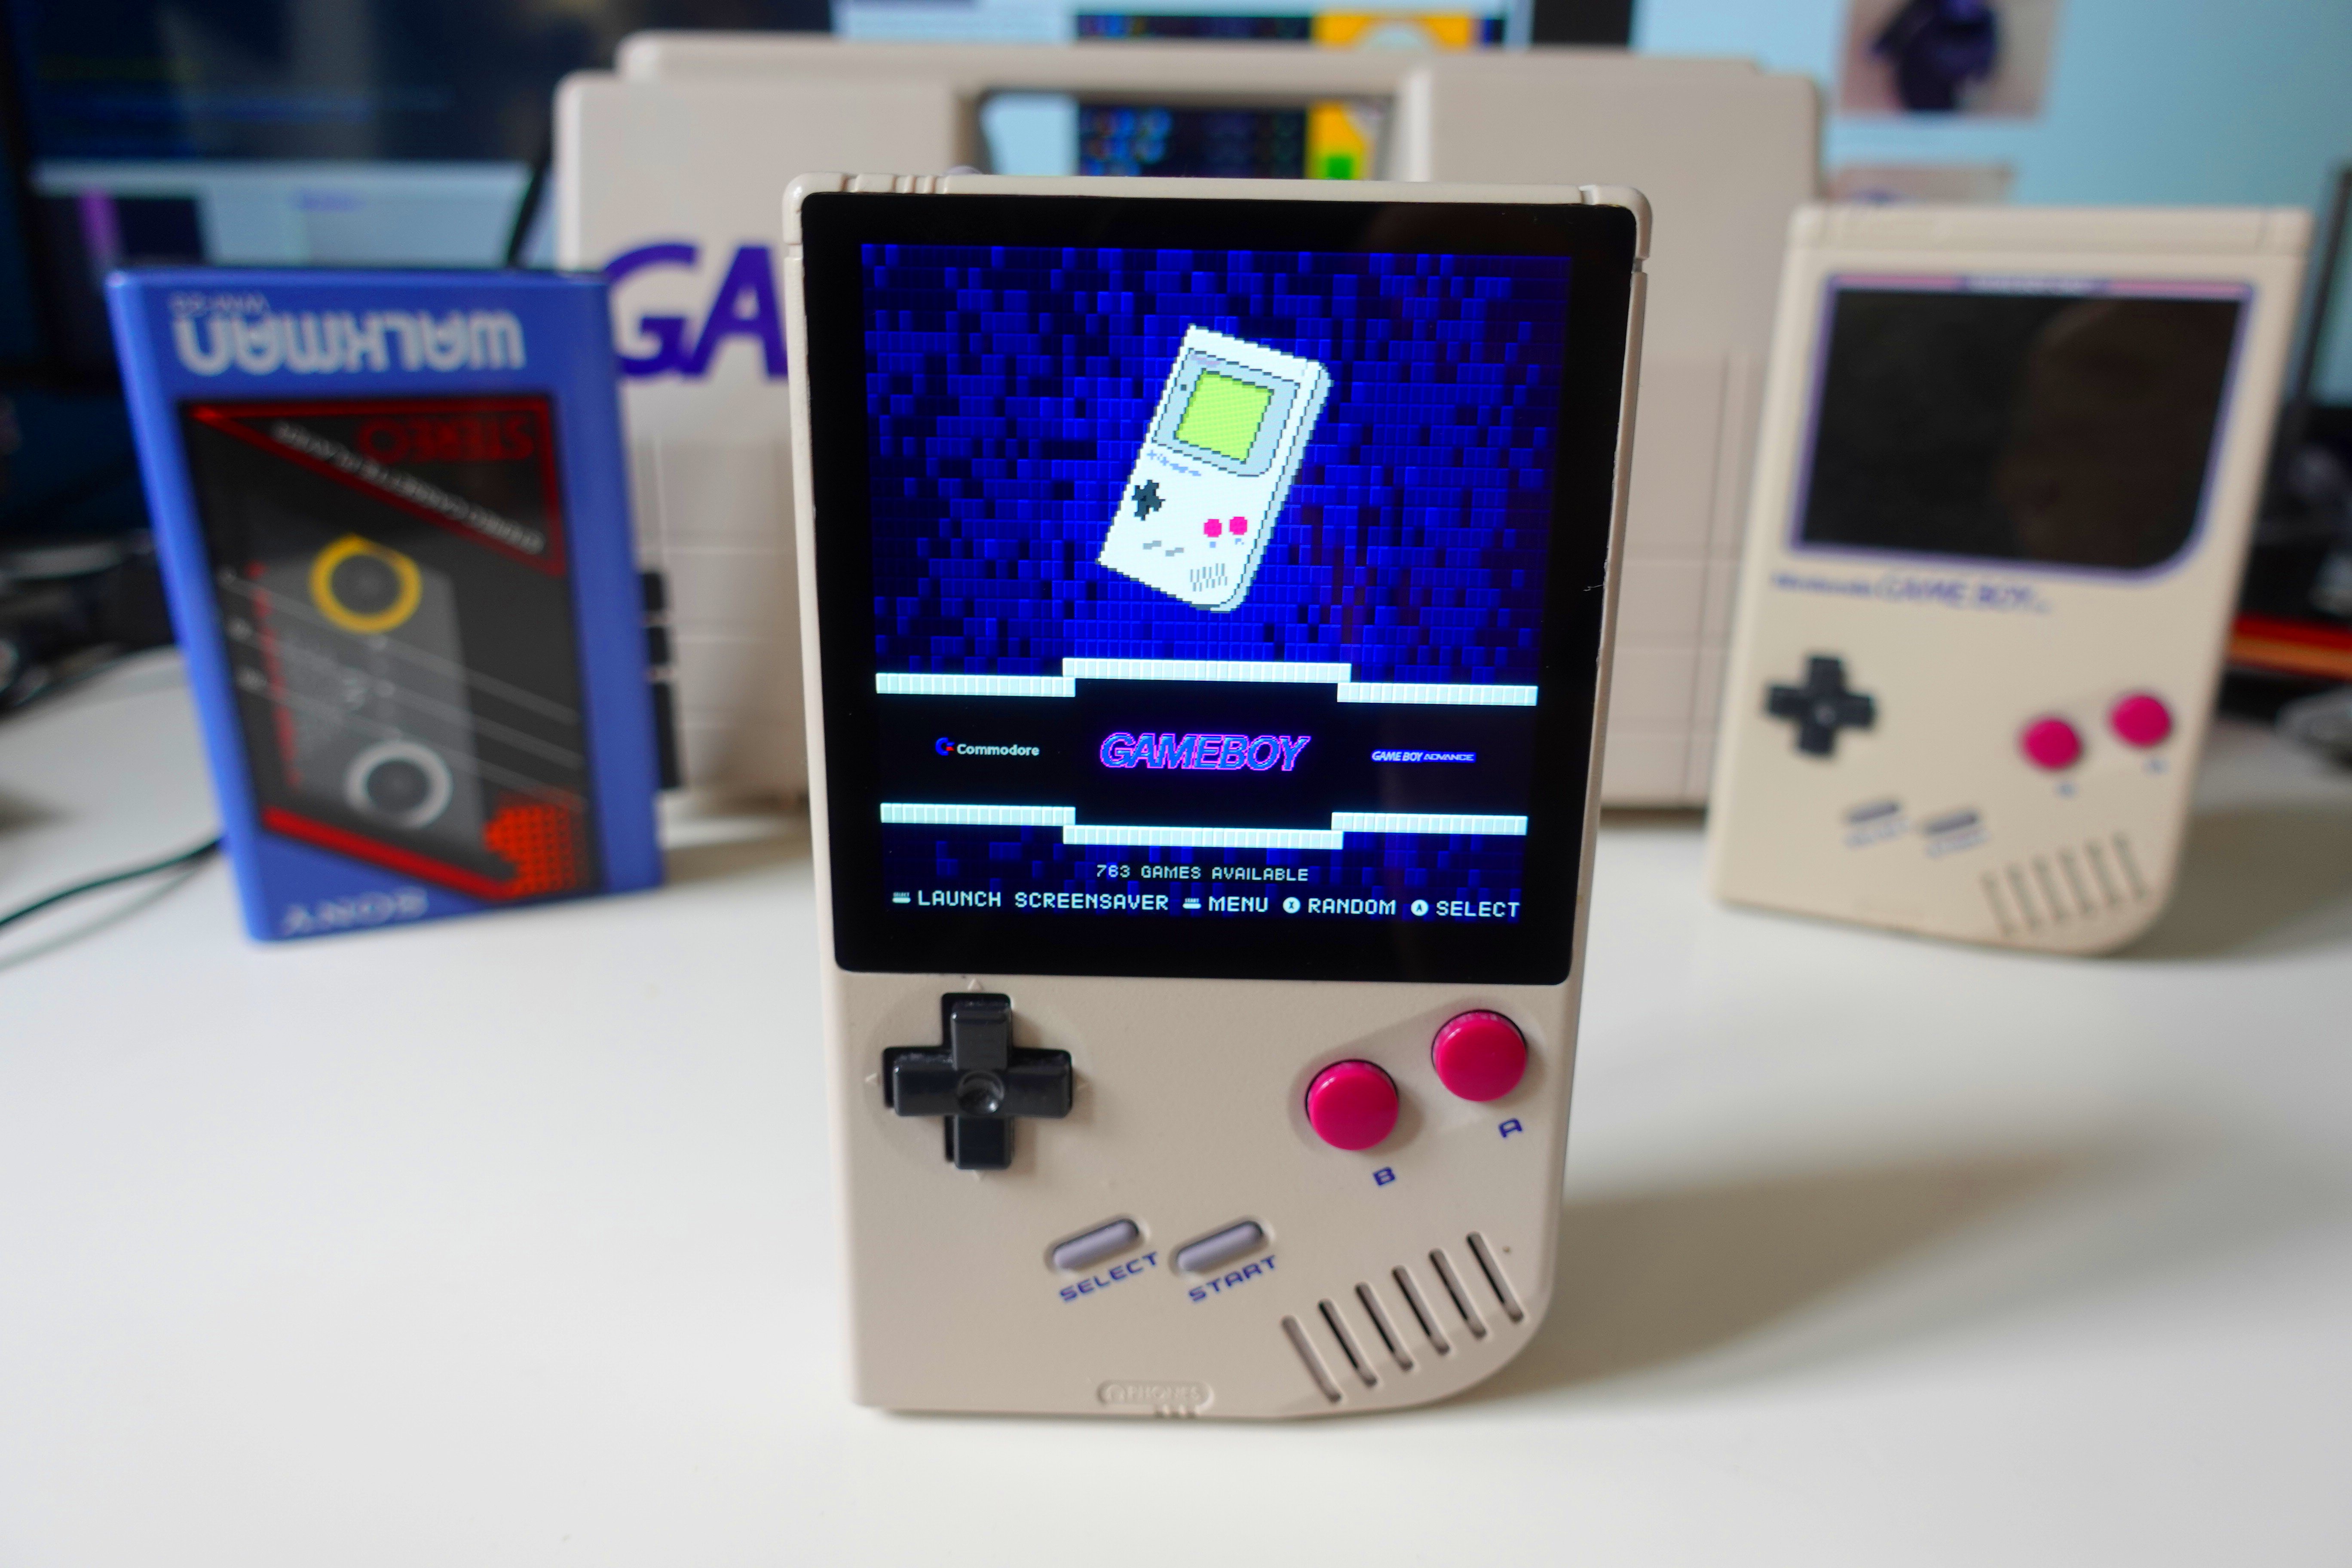
|
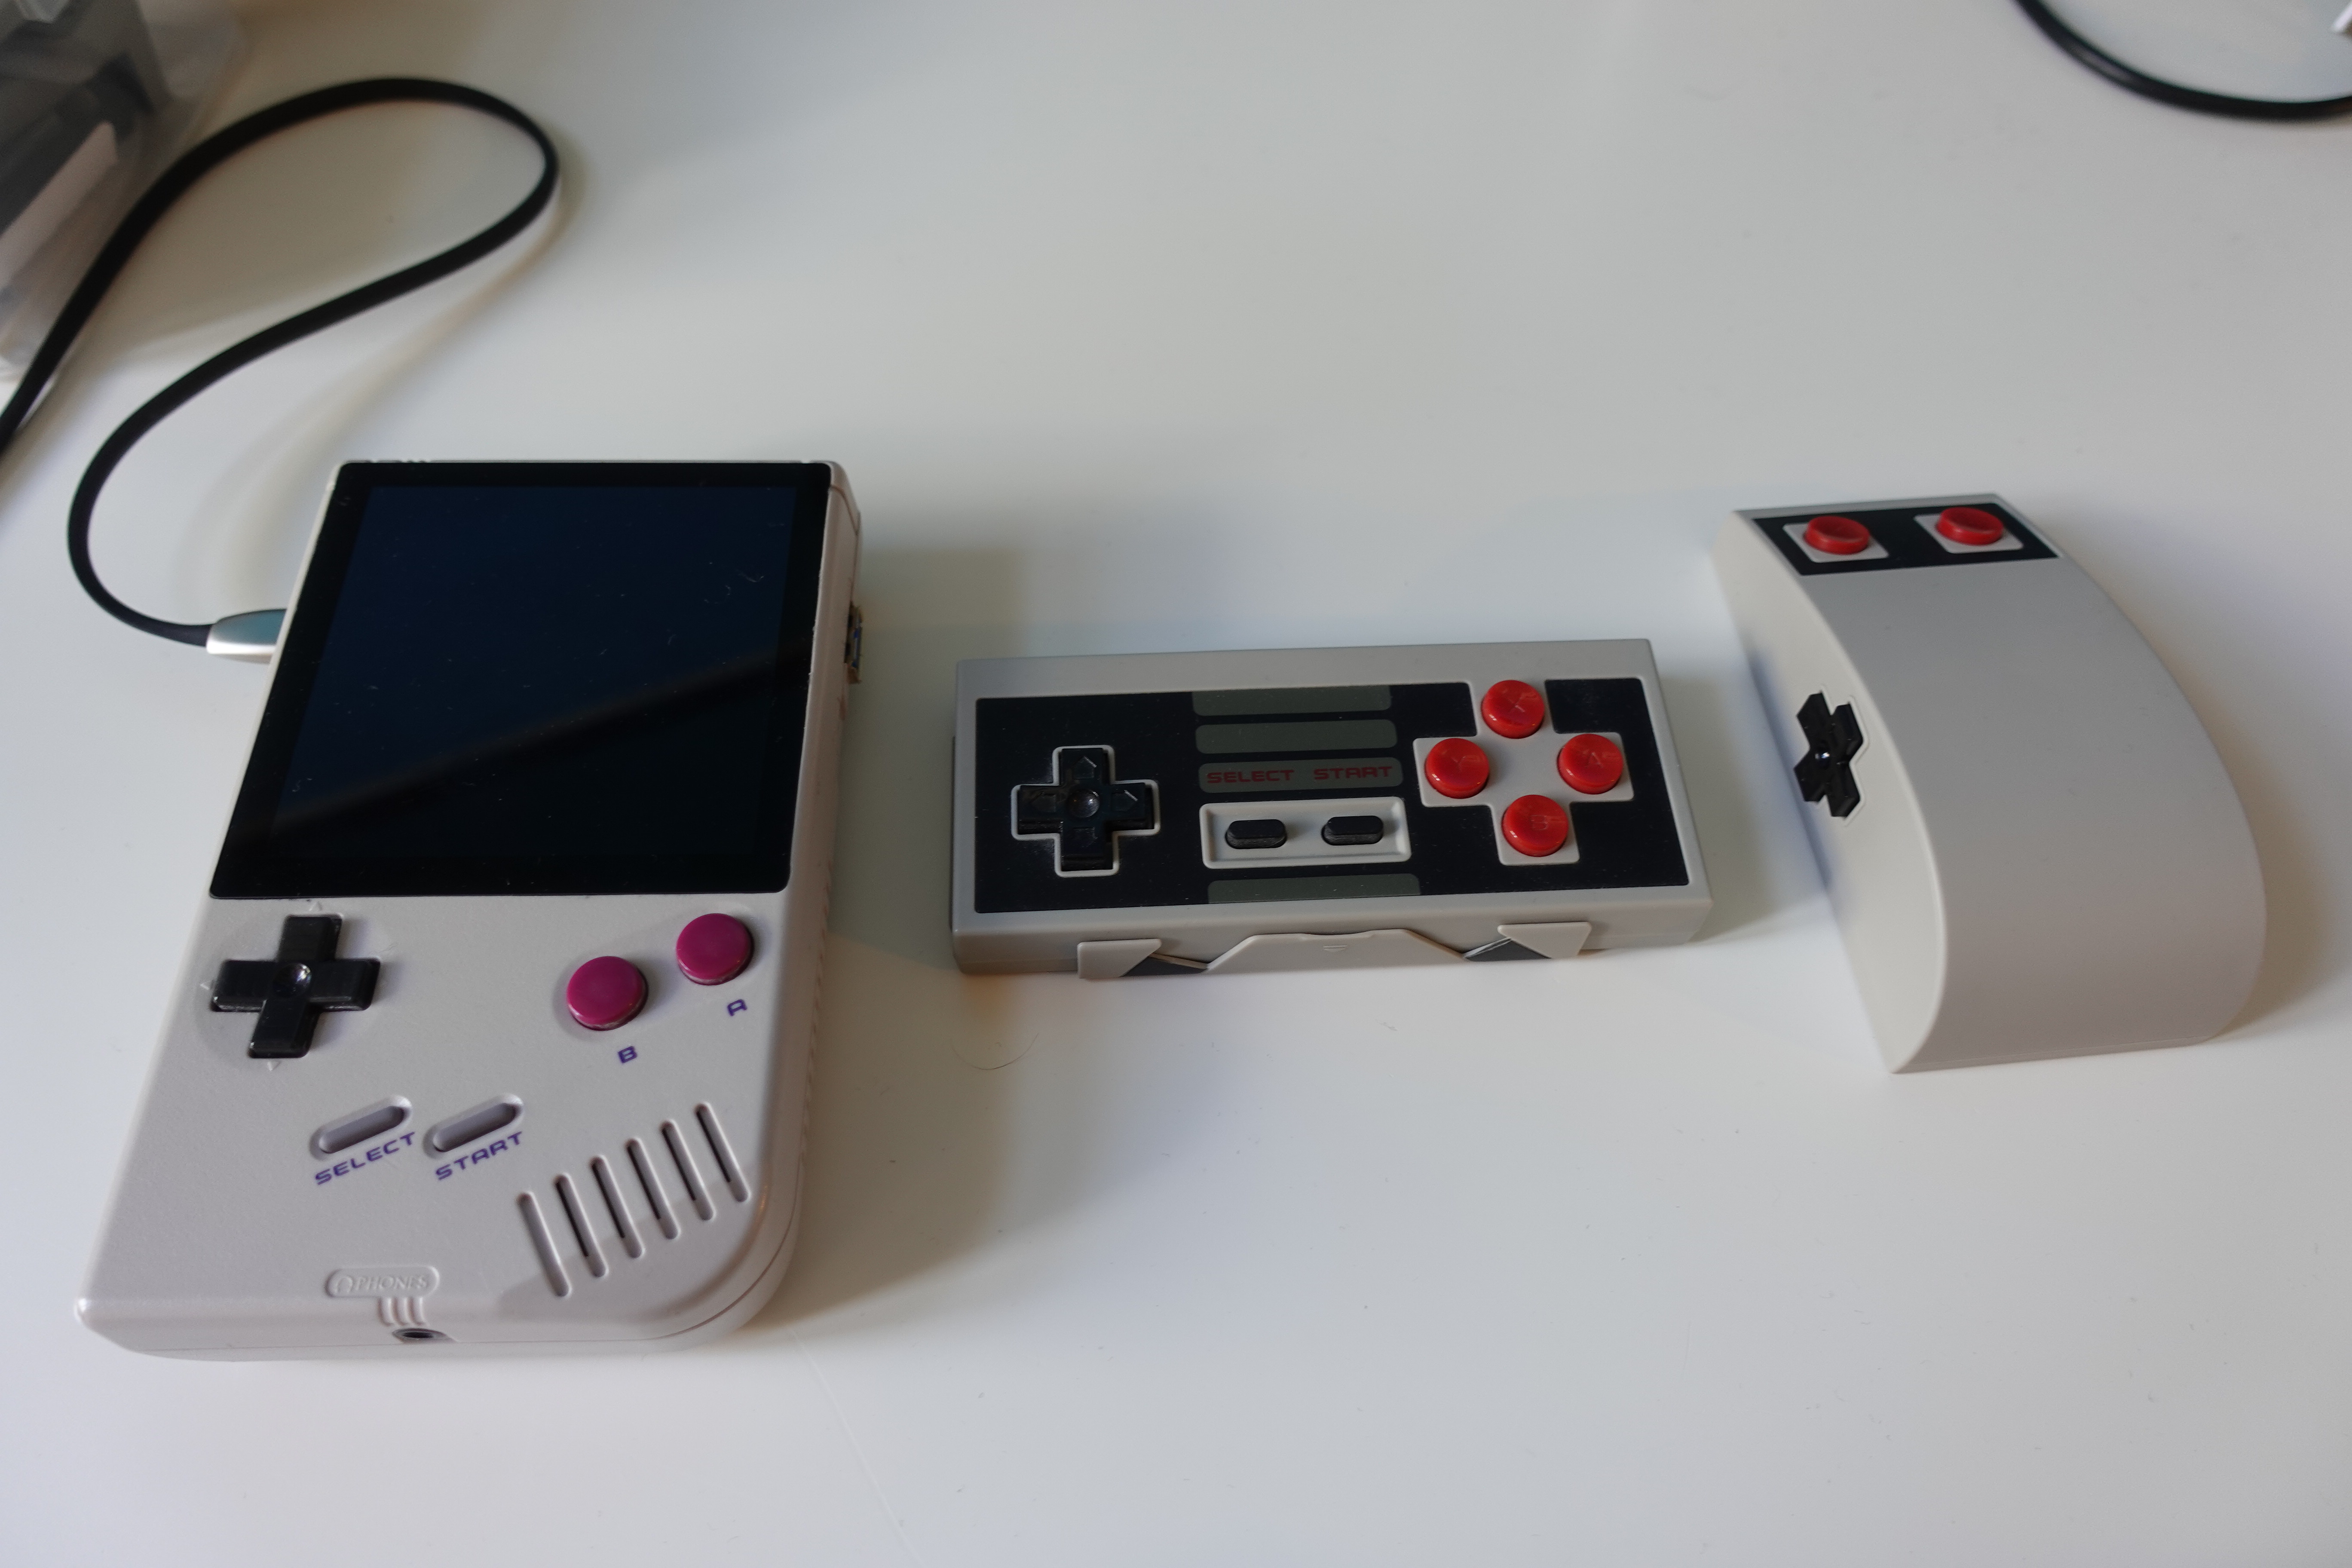
|
Einkaufsliste:
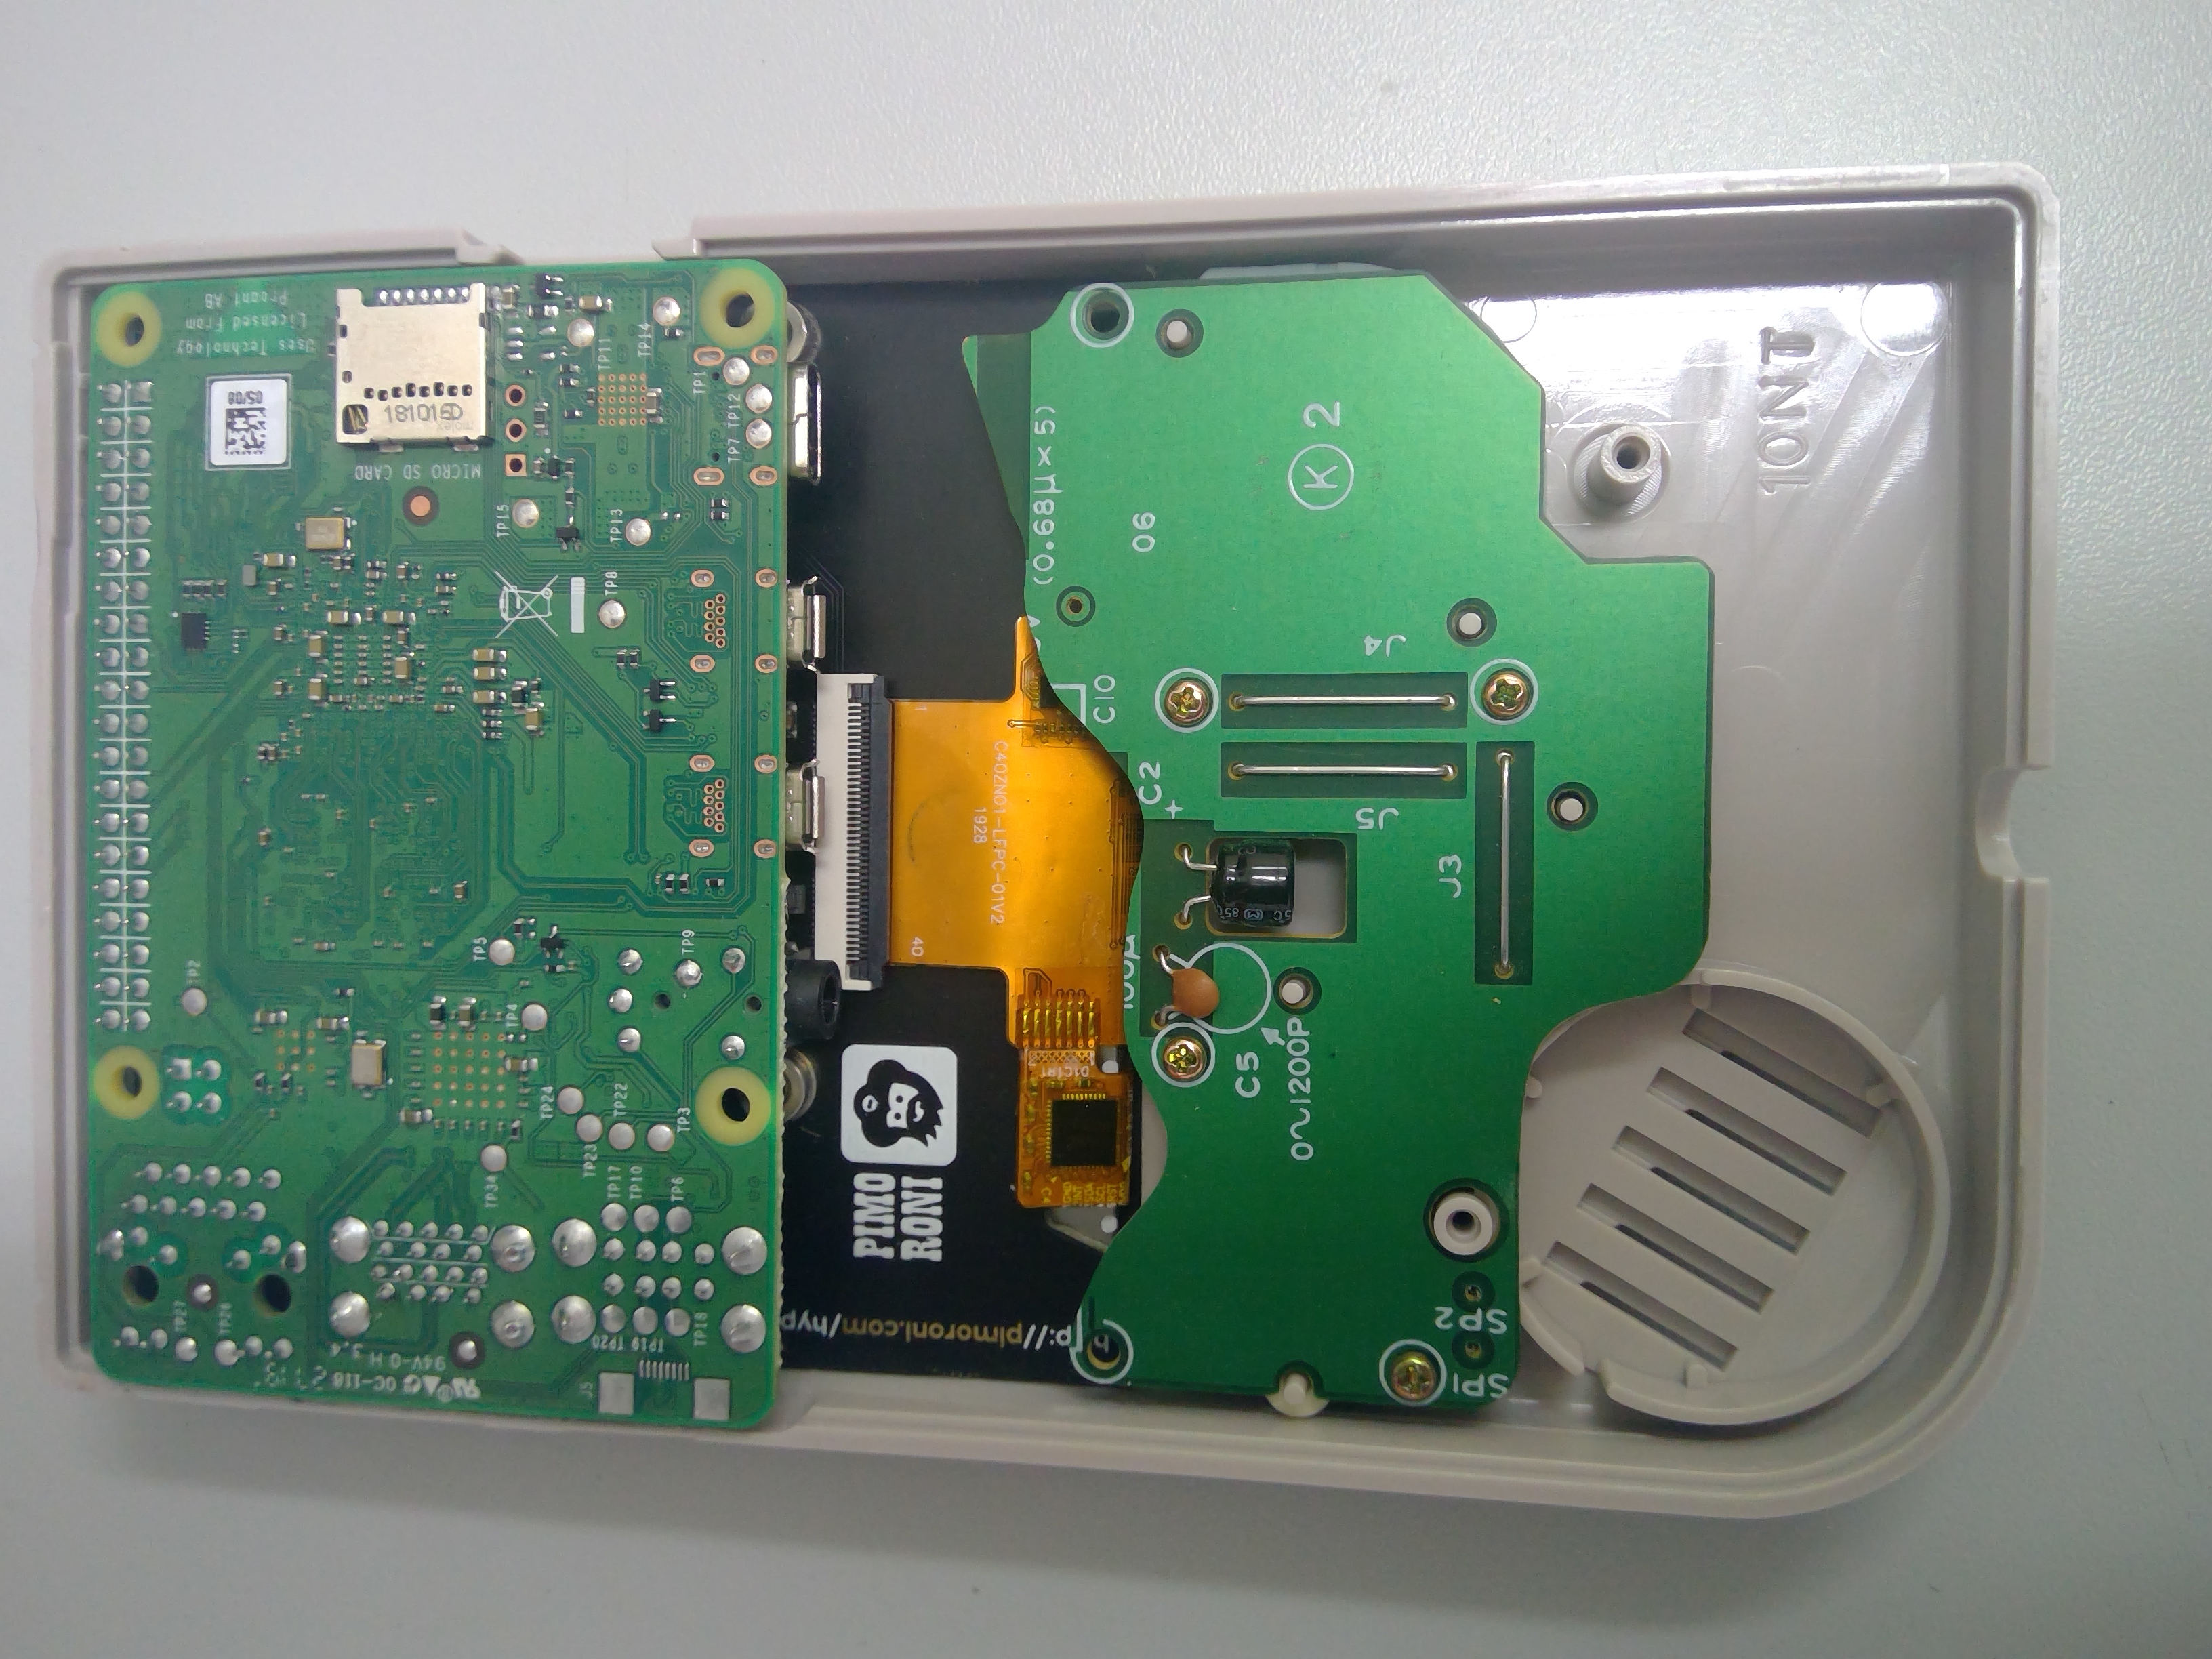
- Raspberry Pi 4 (8GB)
- Micro-SD Karte
- Trustfire 14500 900mAh 3,7V geschützte Li-Ion-Zellen (4 Stück)
- Adafruit PowerBoost 1000 Charger + Adafruit PowerBoost 500 Basic
- Pimoroni HyperPixel 4.0 Square - Hi-Res Display for Raspberry Pi – Touch
- Sharkoon Gaming DAC Pro S V2
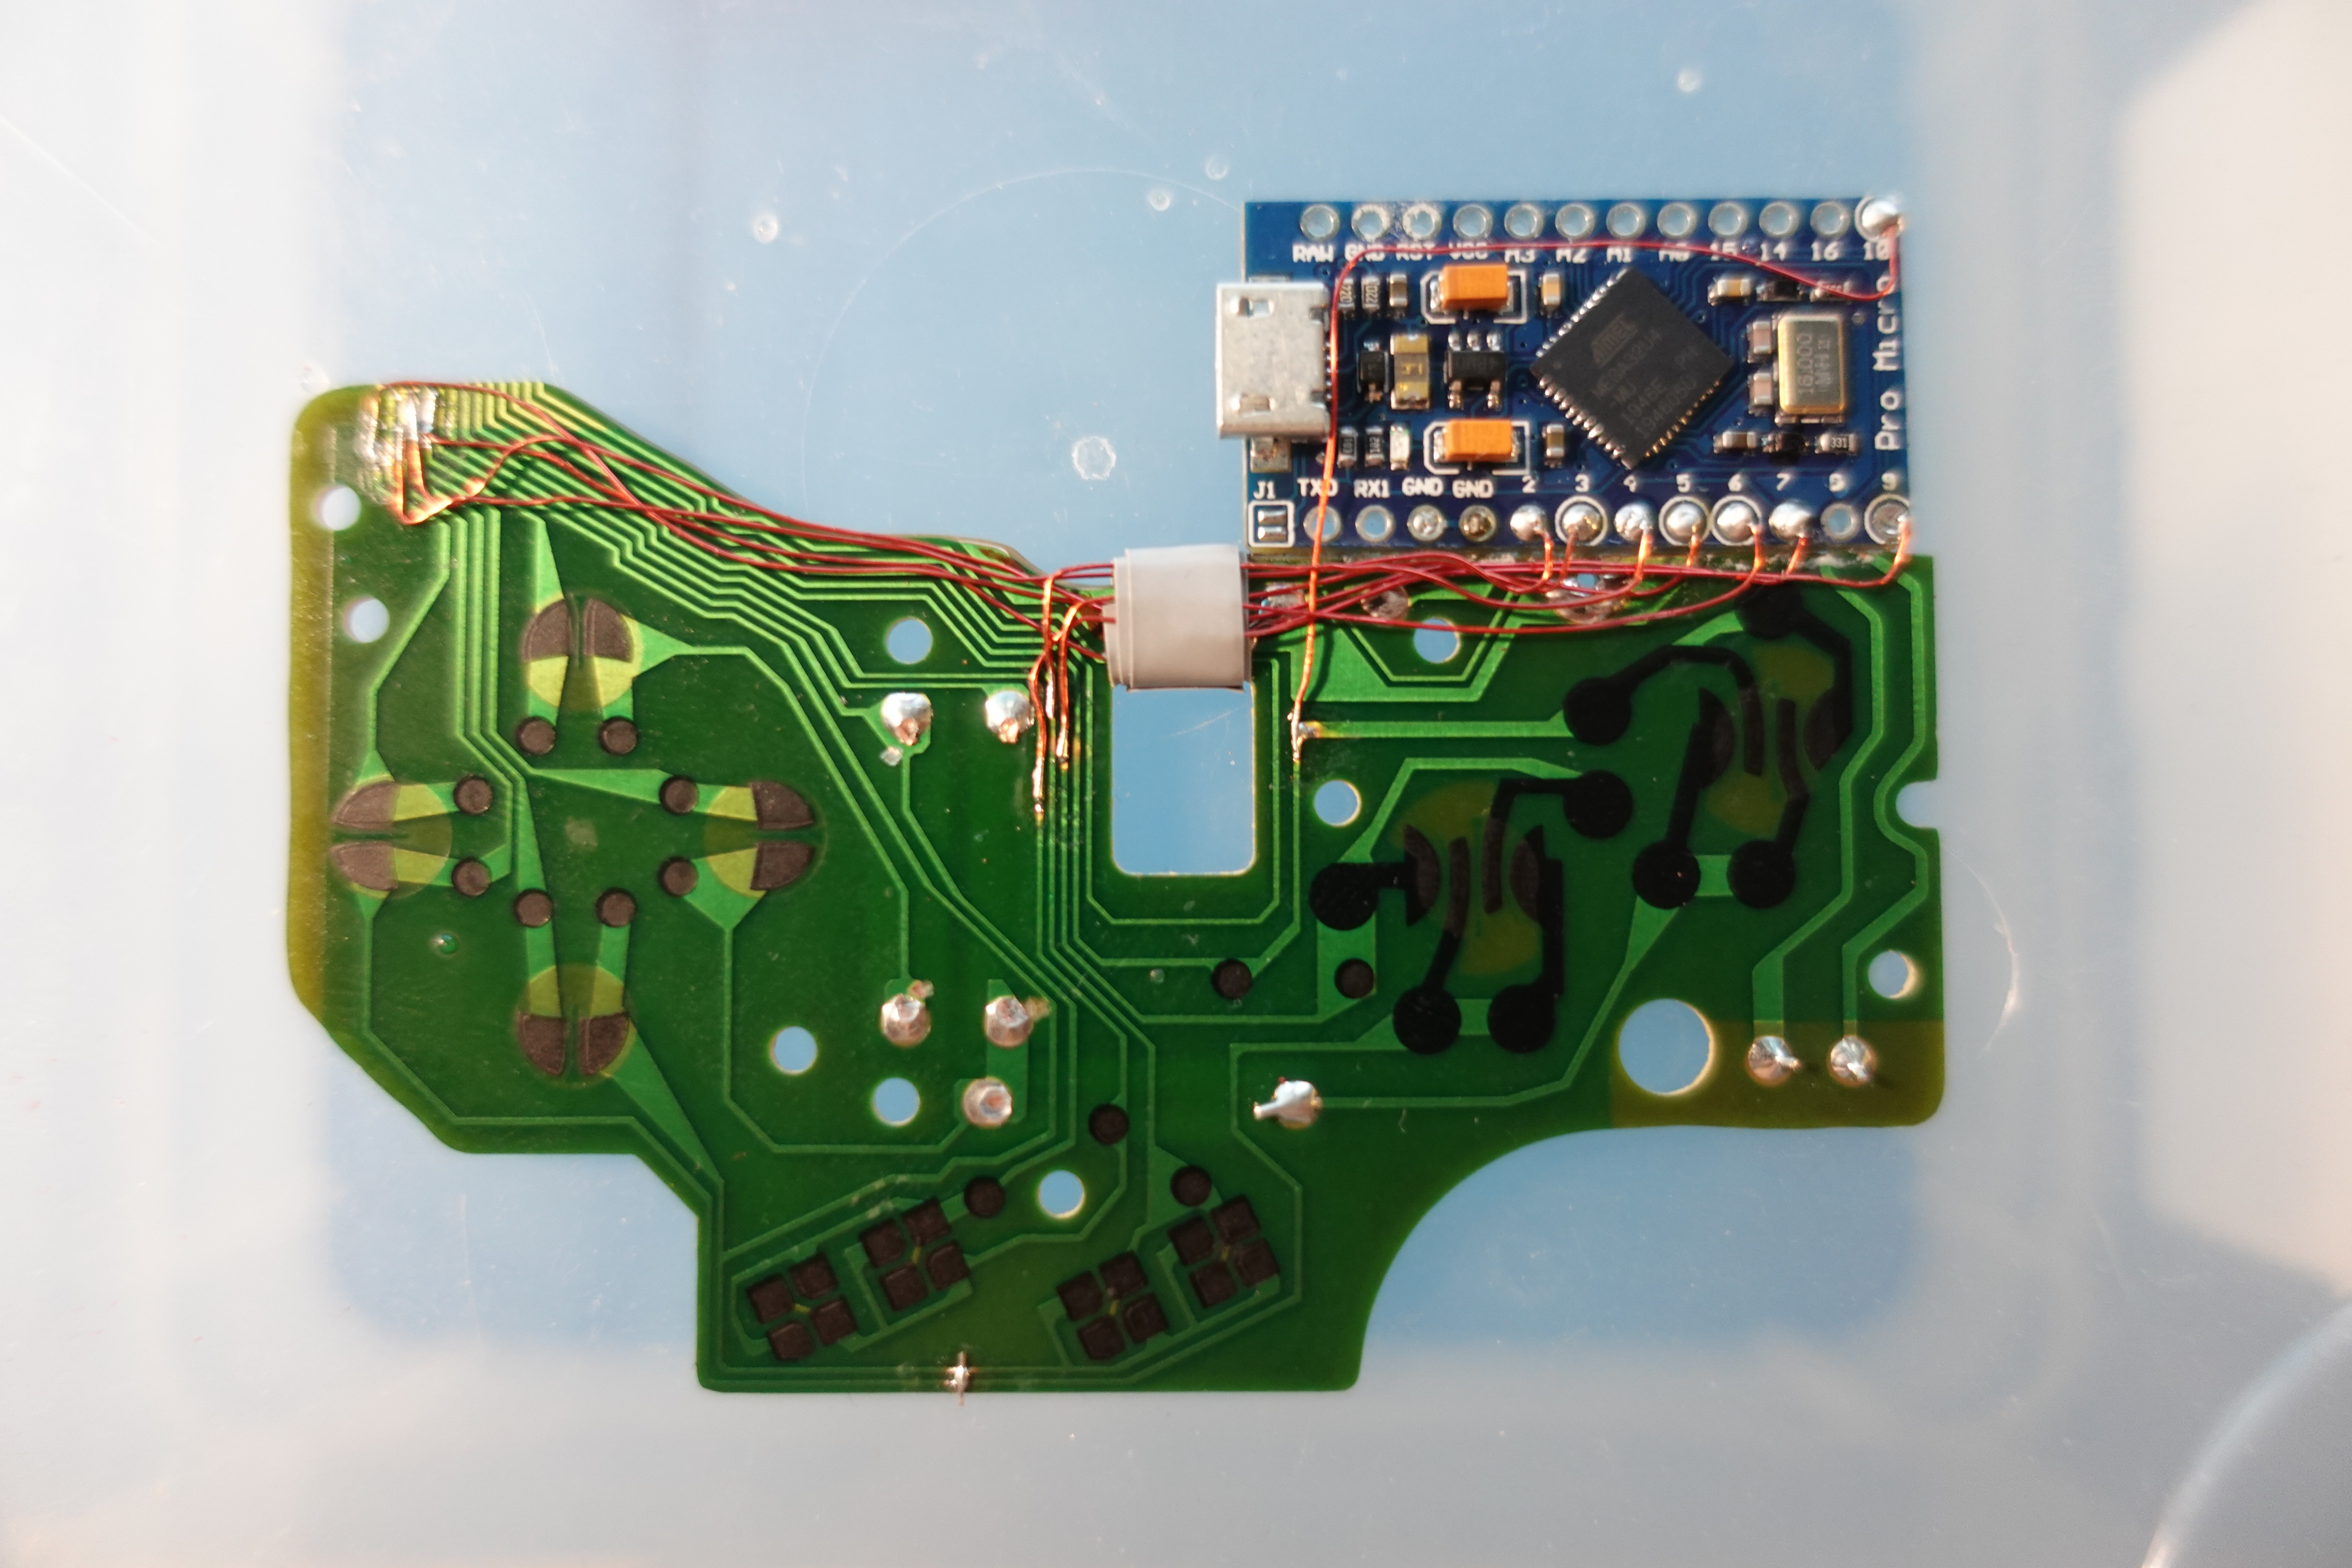
- Arduino Pro Micro ATmega32U4 5V 16MHz
Features
 _n____________________
|_|__________________|_|
| ,------------------. |
||                    ||  CPU:  ARM Quad-Core 1,5 Ghz (ARMv8-A) 64-bit
||                    ||  GPU:  Quad Core VideoCore VI
||                    ||  RAM:  8 GB LPDDR4 SDRAM
||                    ||  WLAN: 802.11b/g/n/ac
||                    ||  Bluetooth:  5.0 LE
||                    ||  OS:   PiBoyOS
| `-------------------'|  Display: 4.0" IPS Touchscreen mit 720x720 pixel, 60 FPS
| Nintendo PIBOY       |  Interner Speicher: 512 GB
|  _| |_          ,-.  |  HDMI: 4K 60 Hz
| |_ O _|    ,-. "._," |  Hi-Res Audio: 96 Kilohertz
|   |_|     "._,"    A |  USB: 3.0
|    _  _      B       |  Akkulaufzeit: 6-7h
|   // //              |
|  // //       \\\\\\  |
|  `  `         \\\\\\ ,
|__________..._______,"
Gahäuseanpassung
Die beiden Gahäuse teile müssen so angepasst werden dass die Komponenten darin Platz finden.
| Vorderteil | Hinterteil |
|---|---|
|

|
CODE
Arduino GamePad Code
#include <Keyboard.h>

#define BUTTONS 12
int pin_arr[]={      2,   3,   4,   5,   6,   7,   8,   9,  10,  16,  15,  14};
int keycode_arr[]={217, 216, 128, 215, 178, 218, 211, 177, 176, 214, 199, 198};

int key_state[BUTTONS];

void setup() {
  Keyboard.begin();
  for (int i=0;i<BUTTONS;i++)
  {
    pinMode(pin_arr[i], INPUT_PULLUP);
    key_state[i] = digitalRead(pin_arr[i]);
  }
}

void loop() {
  for (int i=0;i<BUTTONS;i++)
  {
    key_state[i]=digitalRead(pin_arr[i]);
    if (key_state[i]==LOW) {
      Keyboard.press(keycode_arr[i]); if (keycode_arr[i] == 49) { delay(80); }
    } else {
      Keyboard.release(keycode_arr[i]);
    }
  }
}
Rertopie Anpassungen
Display aktivieren
curl https://get.pimoroni.com/hyperpixel4 | bash
Touch Keyboard installieren
apt-get install xvkbd
Anpassen der Displayhelligkeit
sudo apt install wiringpi
wget https://project-downloads.drogon.net/wiringpi-latest.deb
 sudo dpkg -i wiringpi-latest.deb
Aktiviere den PWM mode auf PIN 19
gpio -g mode 19 pwm
Stelle die Helligkeit ein, mögliche Werte 40-255, hier im bsp. 60
gpio -g pwm 19 60
USB Sound konfigurieren über diese Anleitung
Desktop installieren: kann einfach über das Retropie Setup installiert werden in Configuration / Tools » Raspbiantools » Install Pixel Desktop Environment